
Project Panel
The Project panel is the file browser for your project. By default it is docked at the bottom of the editor, alongside the Console. It has two parts: a folder tree on the left and the contents of the selected folder on the right.
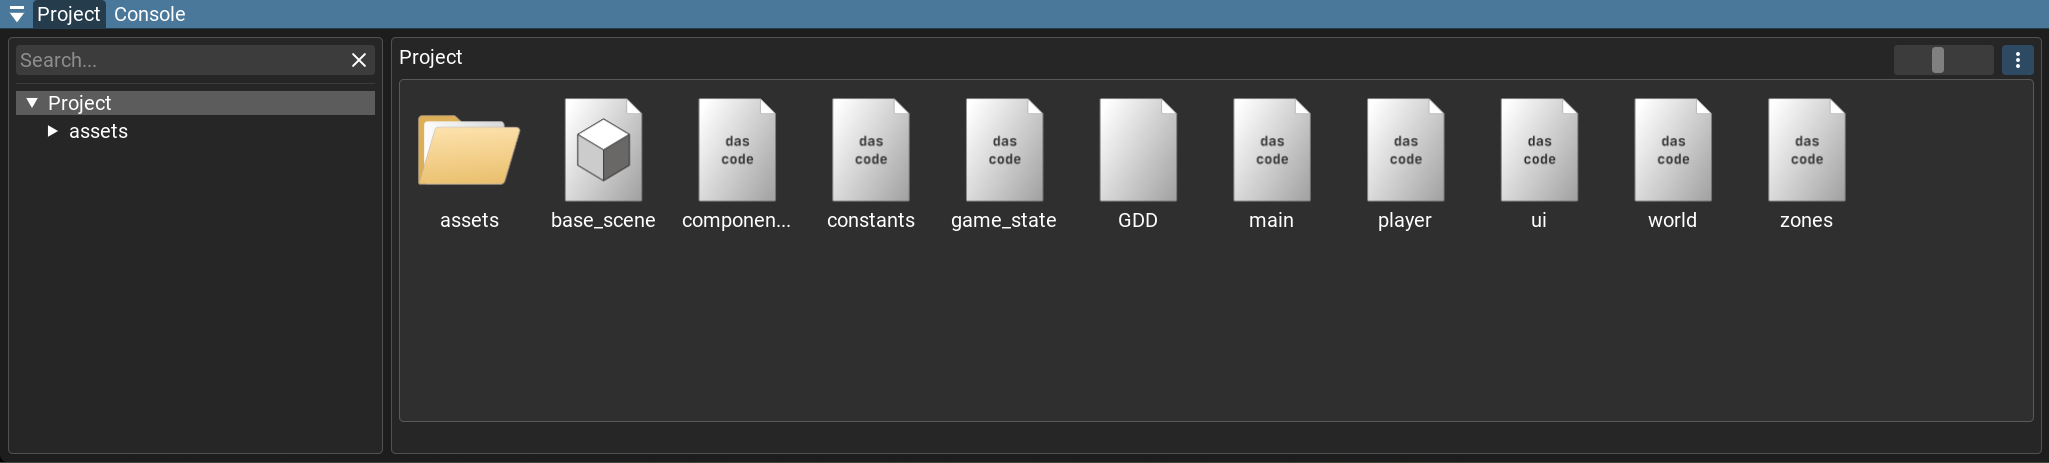
Folder tree
The left pane shows the project’s folder hierarchy.
Search… — the field at the top filters the tree by name in real time.
Click a folder to make it the selected folder; its contents appear on the right.
Expand and collapse folders with the arrows.
Folder contents
The right pane shows the files and sub-folders of the selected folder as thumbnails.
Breadcrumb — the path along the top; click any segment to jump to that folder.
Icon size — the slider scales the thumbnails. At its lowest setting the contents switch to a compact list view; higher settings show progressively larger icons.
Options (the
⋮button) — contains Show hidden files, which reveals files normally hidden (.metafiles, dot-files,manifest.blk, the generatedCLAUDE.md, and similar).Build status — while an asset is being (re)built its thumbnail shows a loading spinner. After the build, a badge appears on the thumbnail if the asset produced messages: a red cross for build errors, or a yellow warning icon for warnings.
Working with files
Open — double-click a folder to enter it. Double-click a file to open it: prefabs open in the prefab editor, shader graphs in the shader graph editor, scripts and text files in the code editor. Selecting a texture, material, or other resource shows its editor in the Importer.
Selection — click to select;
Ctrl+ click toggles individual items,Shift+ click selects a range, and you can drag a box around several items. Click empty space or pressEscapeto clear the selection.Shortcuts (when the panel is focused):
Ctrl+Ccopy,Ctrl+Vpaste,Ctrl+Dduplicate,F2rename,Deletedelete.Delete — deleted files are moved to a recycle bin and can be restored with Undo.
Drag and drop (see Drag and Drop for every interaction):
Drag a file onto another folder to move it; hold
Ctrlwhile dragging to copy instead.Drag an asset out of the panel onto a scene node, an inspector resource field, or the viewport — prefabs and models dropped into the viewport are instantiated.
Drag a node from the Outliner onto a folder to save it as a new prefab, or onto an existing
.prefabfile to replace that prefab’s contents (after a confirmation).