Start Here
First, open the EdenSpark Launcher. You should see the home page of the launcher, where you can see your games,
which are stored locally on your device (C:\Users\%USERNAME%\Documents\My Games\eden\launcher\projects by default).
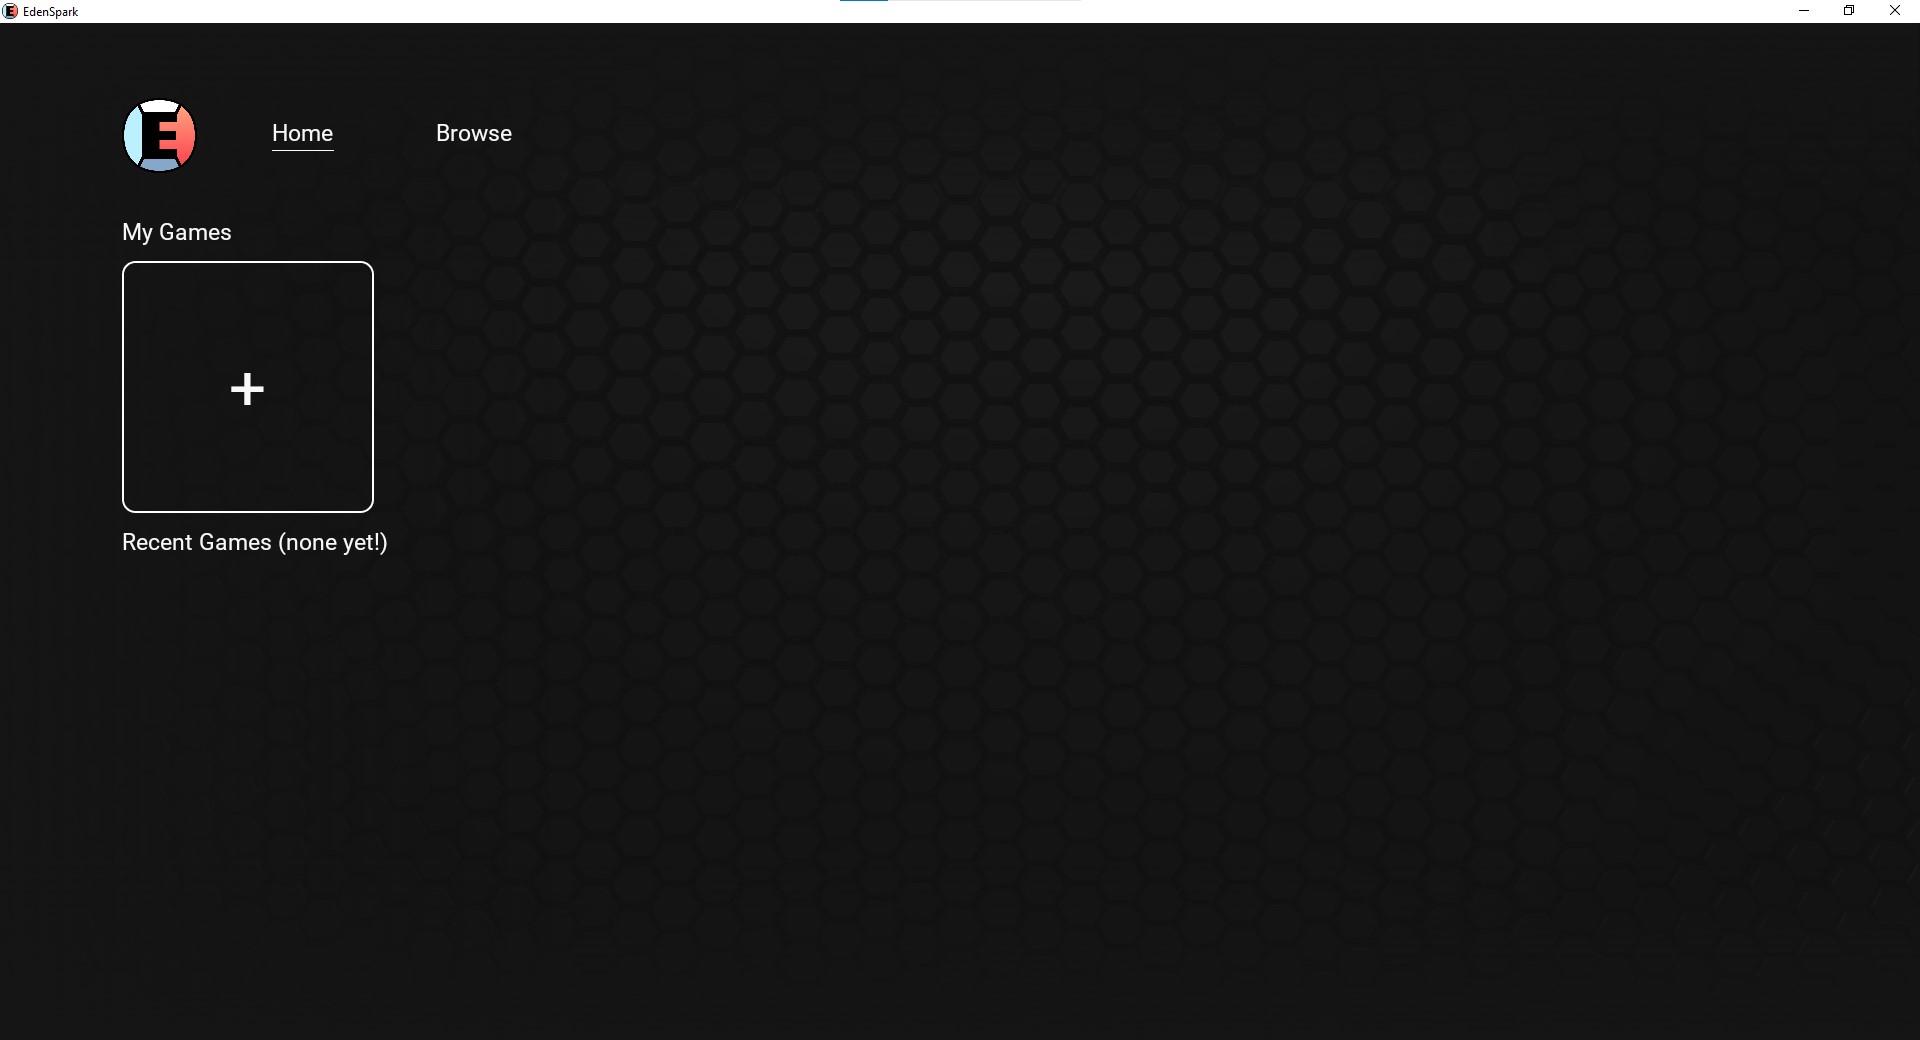
To create a game, click the button under the My Games title.

After that, you’ll see the samples page. EdenSpark ships with two basic templates (2D and 3D), as well as some demo games and various capability showcases.

You can try out these samples without creating a new project if you are unsure what to choose. Click the sample you want to try and then click the “Try” button in the pop-up window.
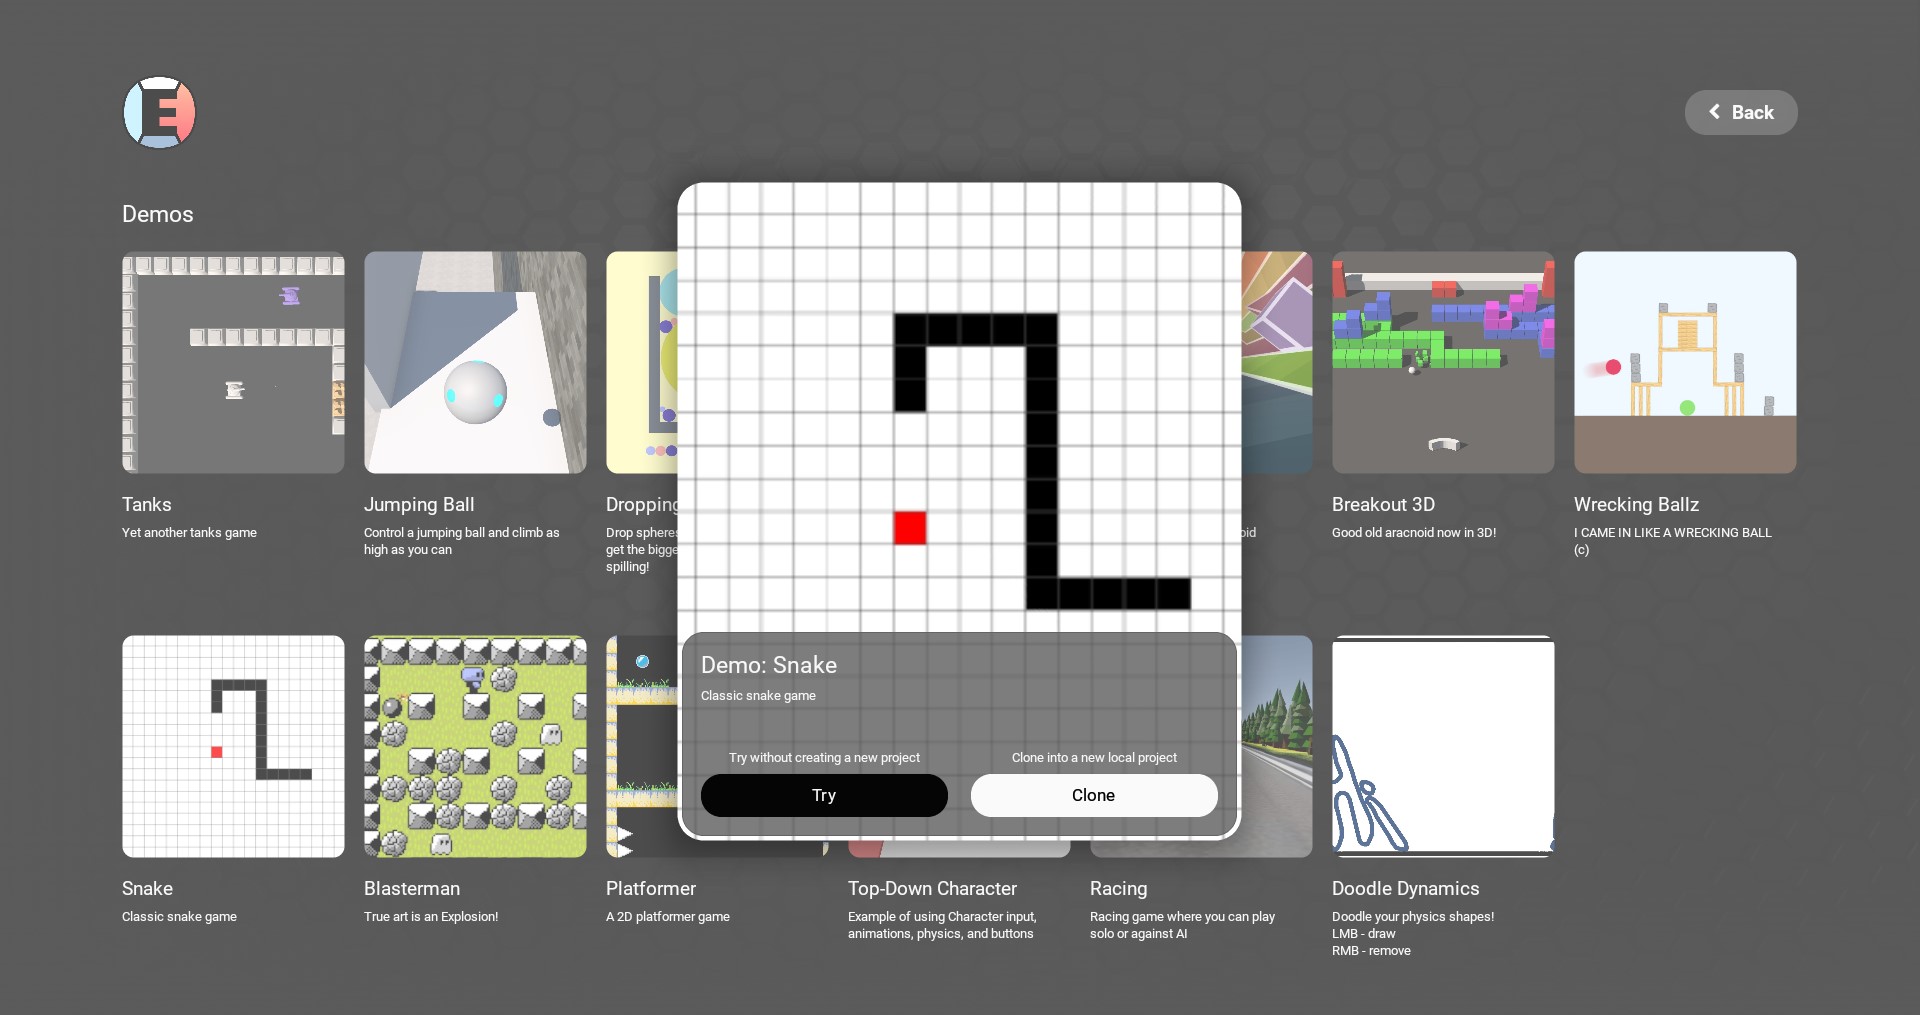
When you’re done playing with the samples (they are fun, I know), you can clone a sample using the “Clone” button.
Let’s clone the 3D template.
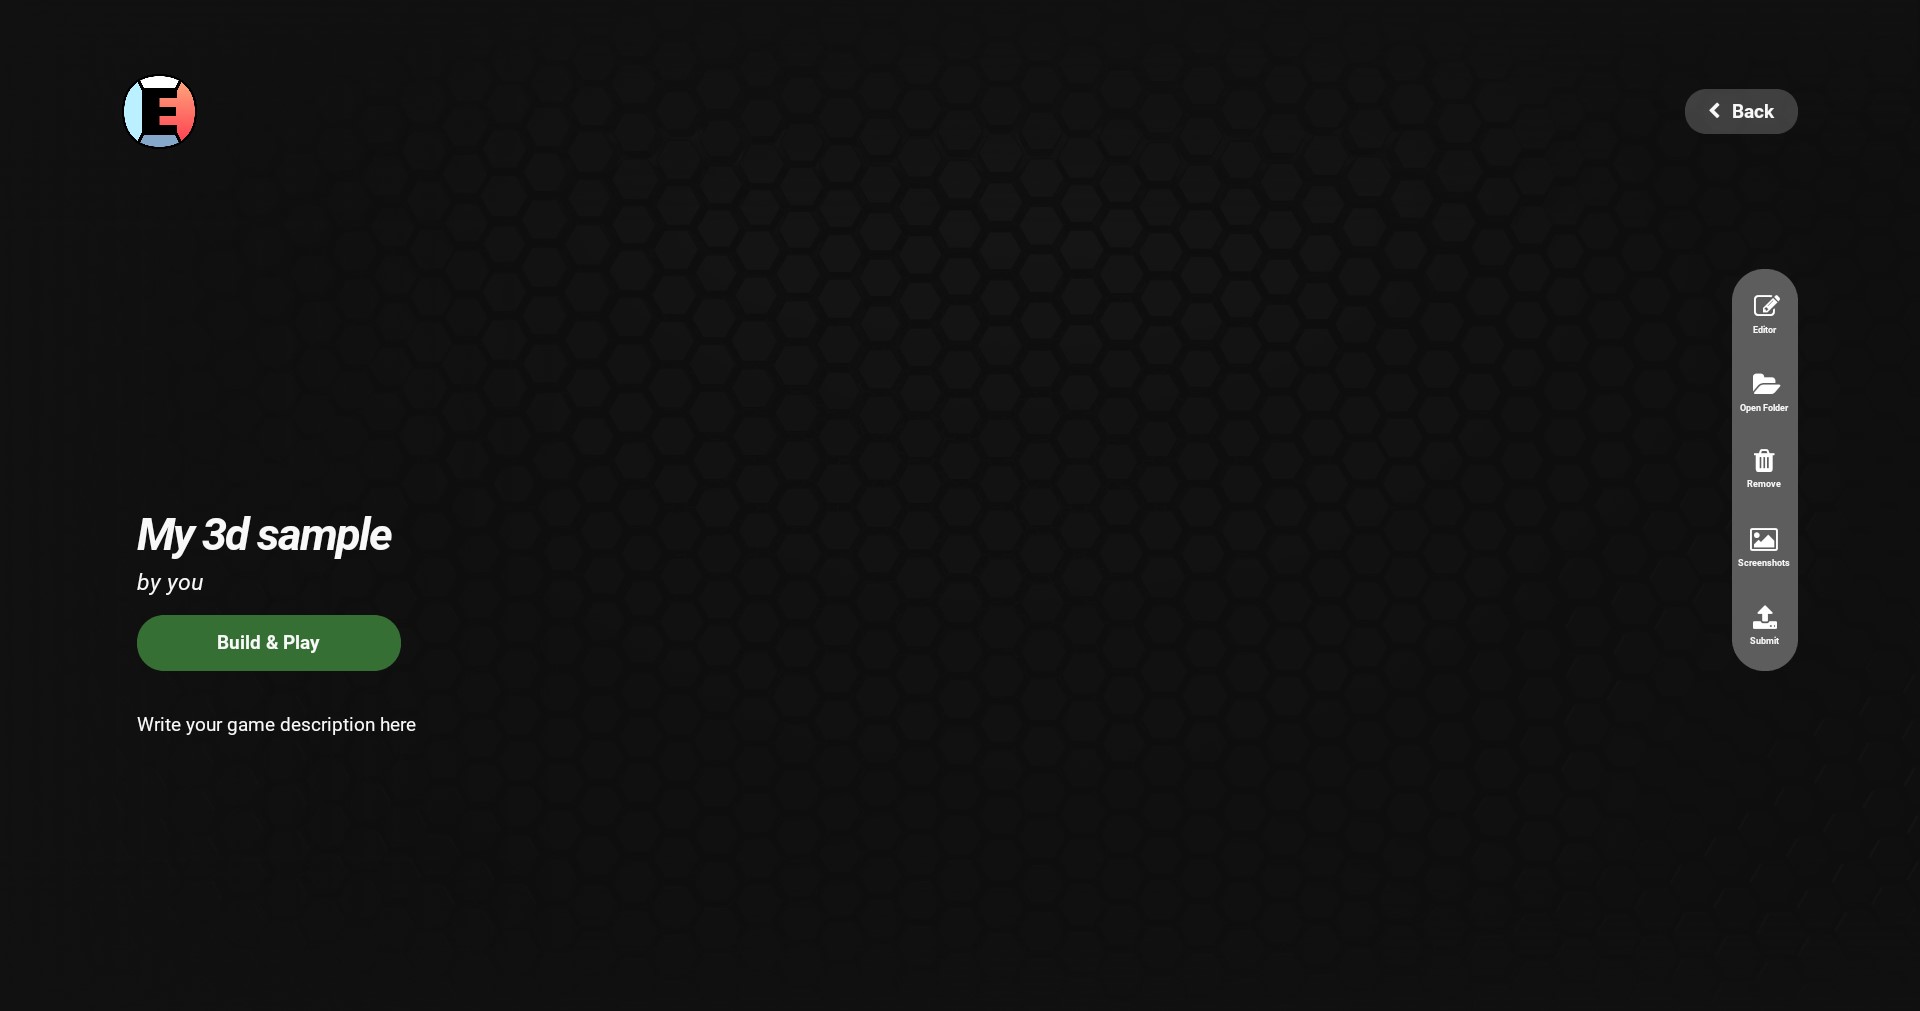
Now your game page should be open in the launcher. Here you can run the EdenSpark Editor to start building your game, as well as manage your game’s info.
Run the editor and, in the navigation bar, select Edit - Open VS Code Project to open your game’s code project.
Once you’ve created and tested your game locally, you might want to upload it to EdenSpark to share it with others.
To upload your project:
Save all your changes.
Return to the EdenSpark launcher.
Add a description and screenshots of your game in the game info section. The first screenshot will be used as the cover image.
In your game page, click the Submit button.
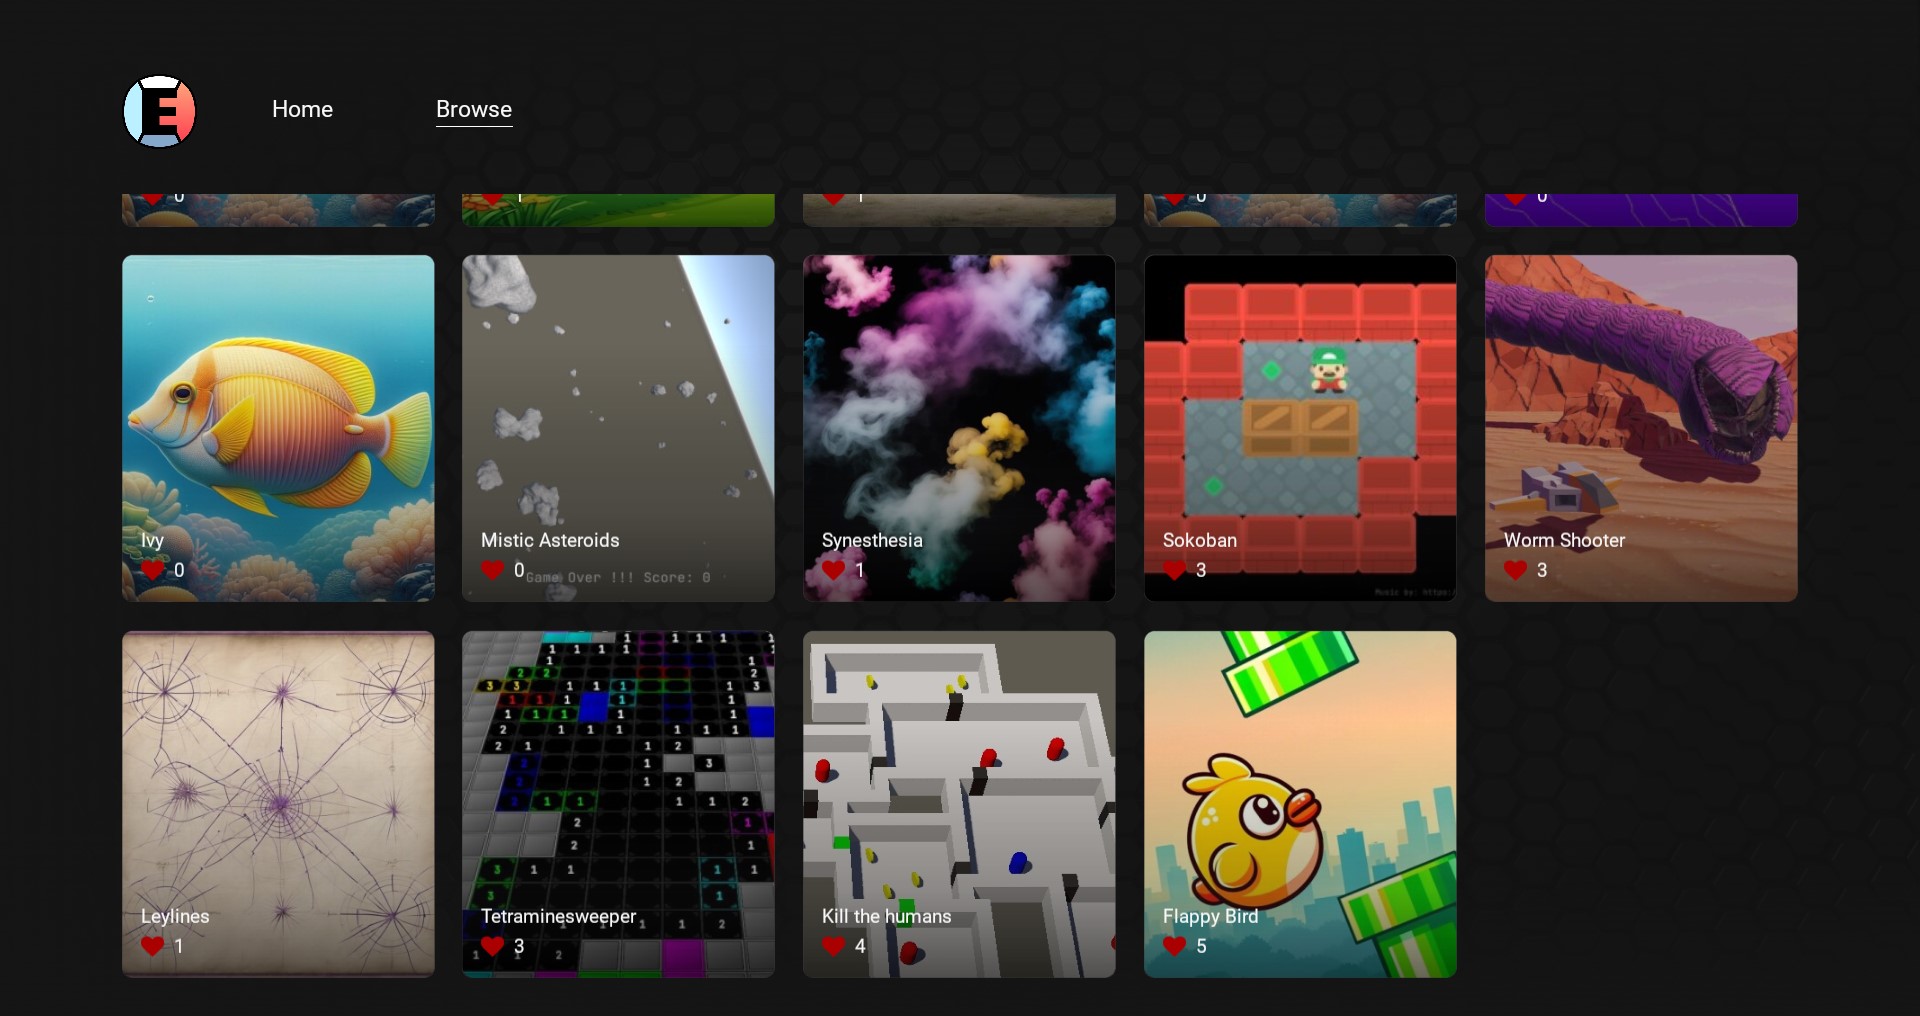
Now your game is being uploaded to EdenSpark! Once the upload is complete, you’ll be able to see your game in the Browse section of the launcher, where other users can find and play it as well.
That’s it! You’re now ready to start creating amazing games with EdenSpark. Happy developing!